Craft a Show-Stopping Chenille Peacock

...even if you've never twisted a pipe cleaner past a kids' craft table.

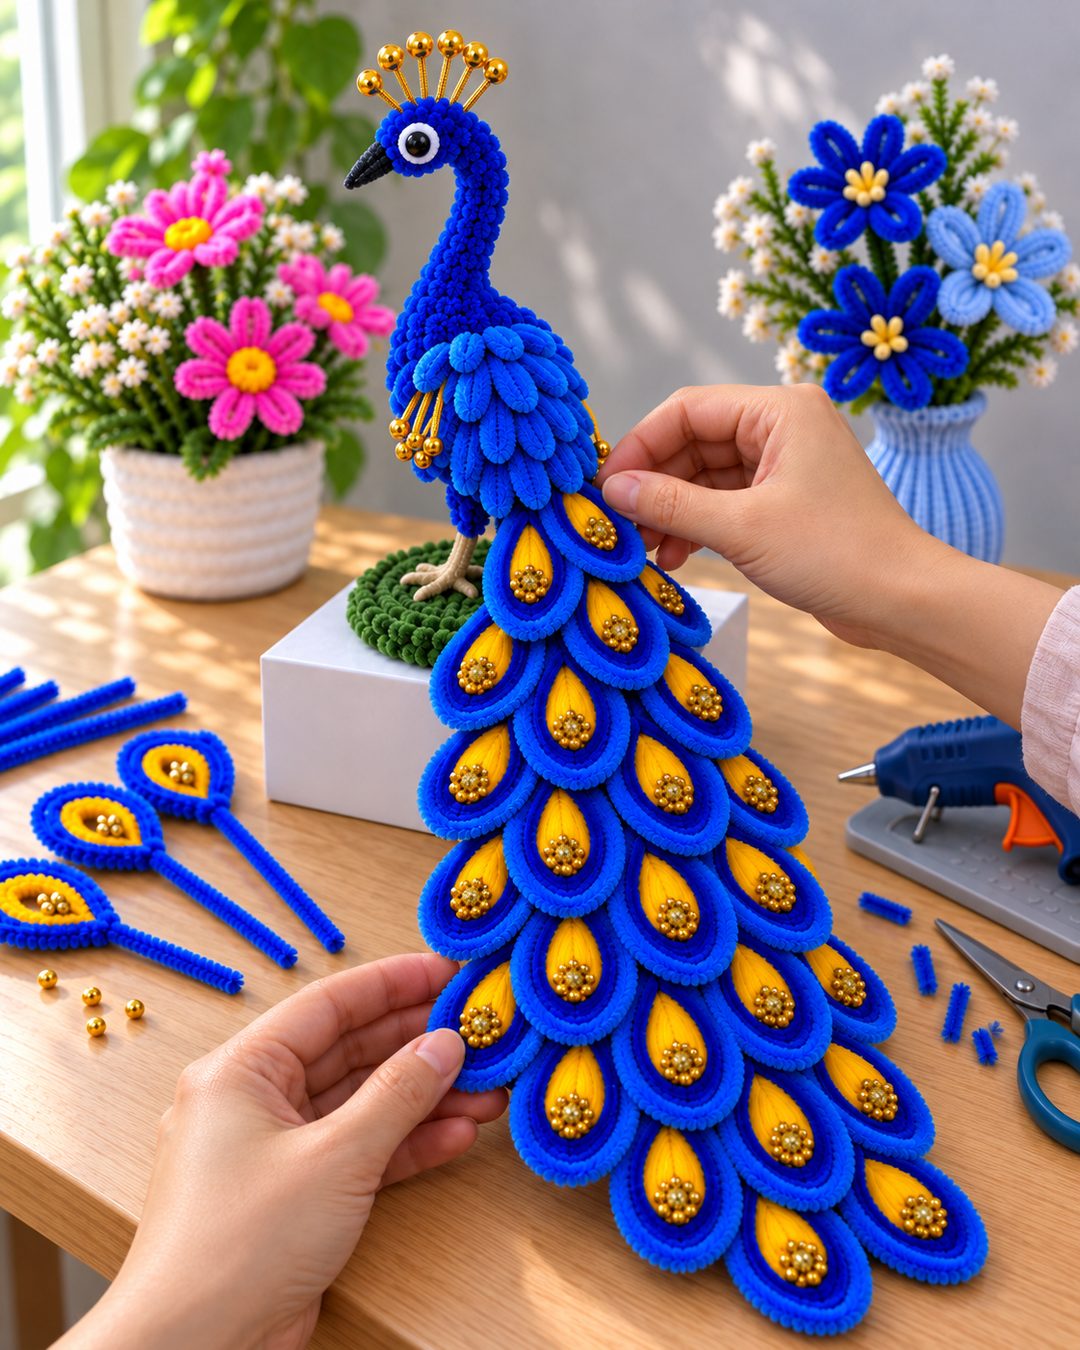
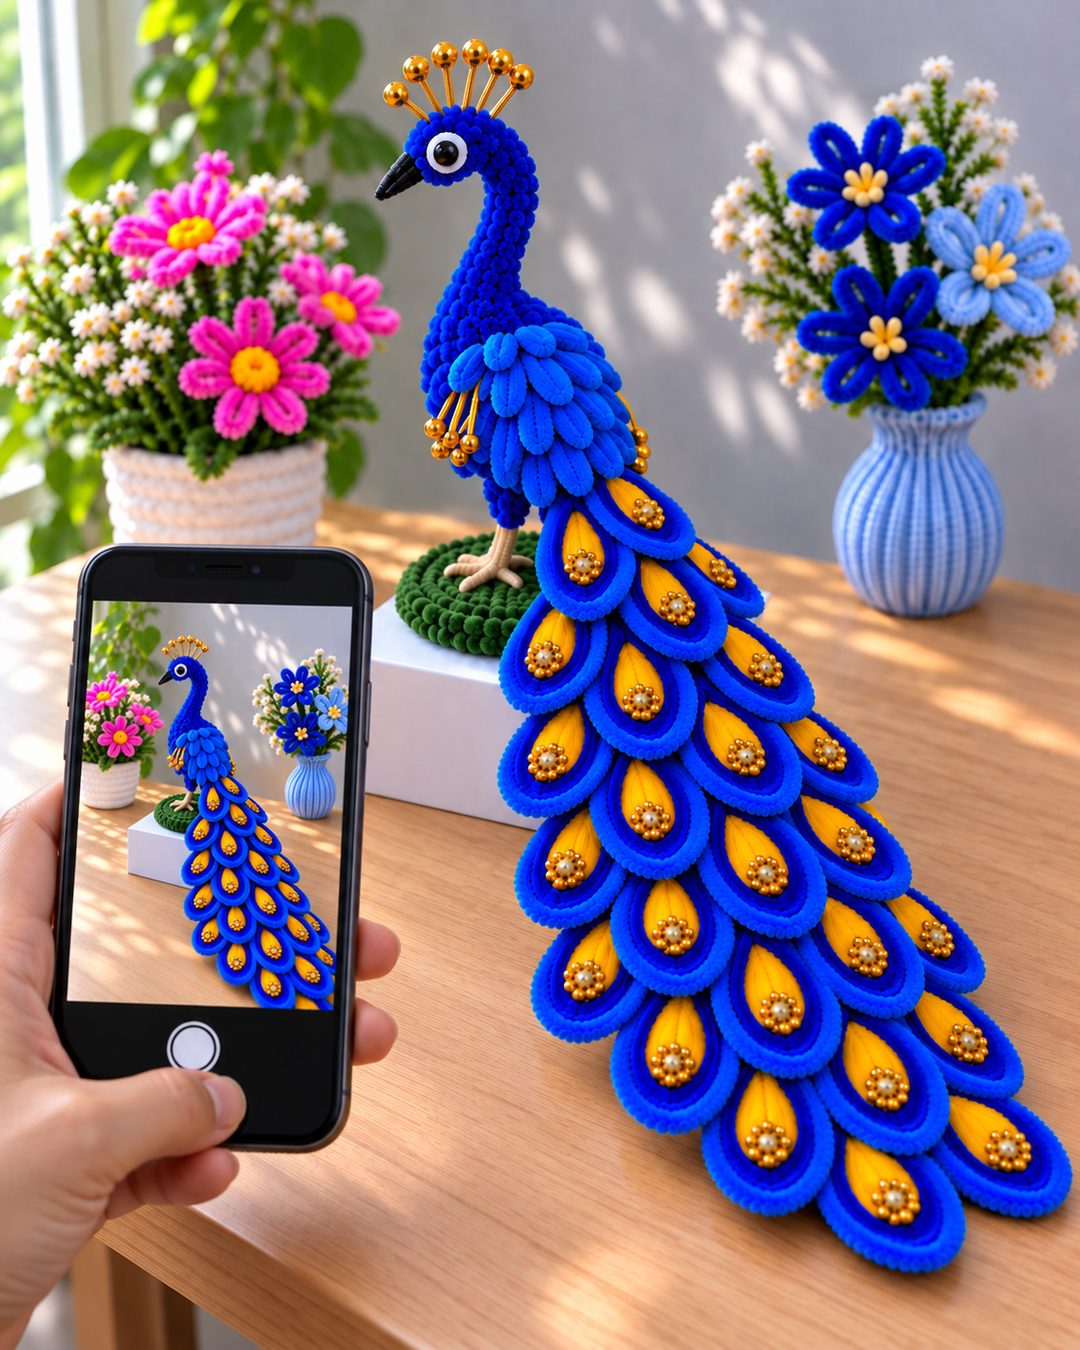
The artist's hands putting the finishing touch on the cascading golden-eyed tail of a finished royal-blue chenille peacock, perched on its woven green base atop a white pedestal, with handmade chenille flowers in the background.

Imagine...

Setting this peacock on your entryway table and watching every single guest stop mid-sentence, lean in, and ask "where did you BUY this?"... and getting to say, quietly, "I made it."

Handing a gift bag to someone you love, watching them lift out a royal blue bird you shaped with your own two hands, and seeing their face change when they realize no store sells this. It exists because you made it for them.

Sitting down after dinner with a pile of soft chenille stems, no screen, no noise, just your hands weaving wire into feathers... and standing up an hour later calmer than you've felt all week, with something beautiful growing on the table in front of you.

Have you ever seen something like this and thought:

"Oh my gosh. I NEED to make that."

So you order a bag of pipe cleaners. They arrive. You sit down at the table, full of excitement... and twenty minutes later you're staring at a lumpy blue tangle that looks nothing like a peacock.

So you do what everyone does. You open YouTube and search "pipe cleaner peacock tutorial."

And you find videos. Sped-up, silent timelapses, filmed from weird angles, with hands flying at triple speed. They show you WHAT the crafter is doing. They never explain WHY. Which stem, which length, how the weave starts, how the tail actually attaches without flopping over.

You pause. Rewind. Pause again. Your version keeps coming out crooked, saggy, or fuzzy in all the wrong places. After a few evenings of this, the bag of stems goes in a drawer.

And a quiet little thought creeps in:

"Maybe I just don't have the talent for this."

But what if...

It's not that you lack talent.
It's not that you need years of practice.
It's that you've been copying finished results at triple speed, instead of learning the small set of core twists that every chenille creation is built from... in the right order.

Because here's the truth: this peacock is not one impossible object. It's a handful of simple techniques, repeated. A twist. A coil. A teardrop. A woven wheel. Learn each one slowly, stack them in sequence, and the "impossible" bird assembles itself in your hands.

All you need is a bag of chenille stems, a pair of scissors, and a free evening. And here I am. I'll show you step by step.

Introducing...

The Velvet Peacock Workshop

Twist, weave, and build a royal-blue peacock with a golden-eyed cascading tail, one calm step at a time.

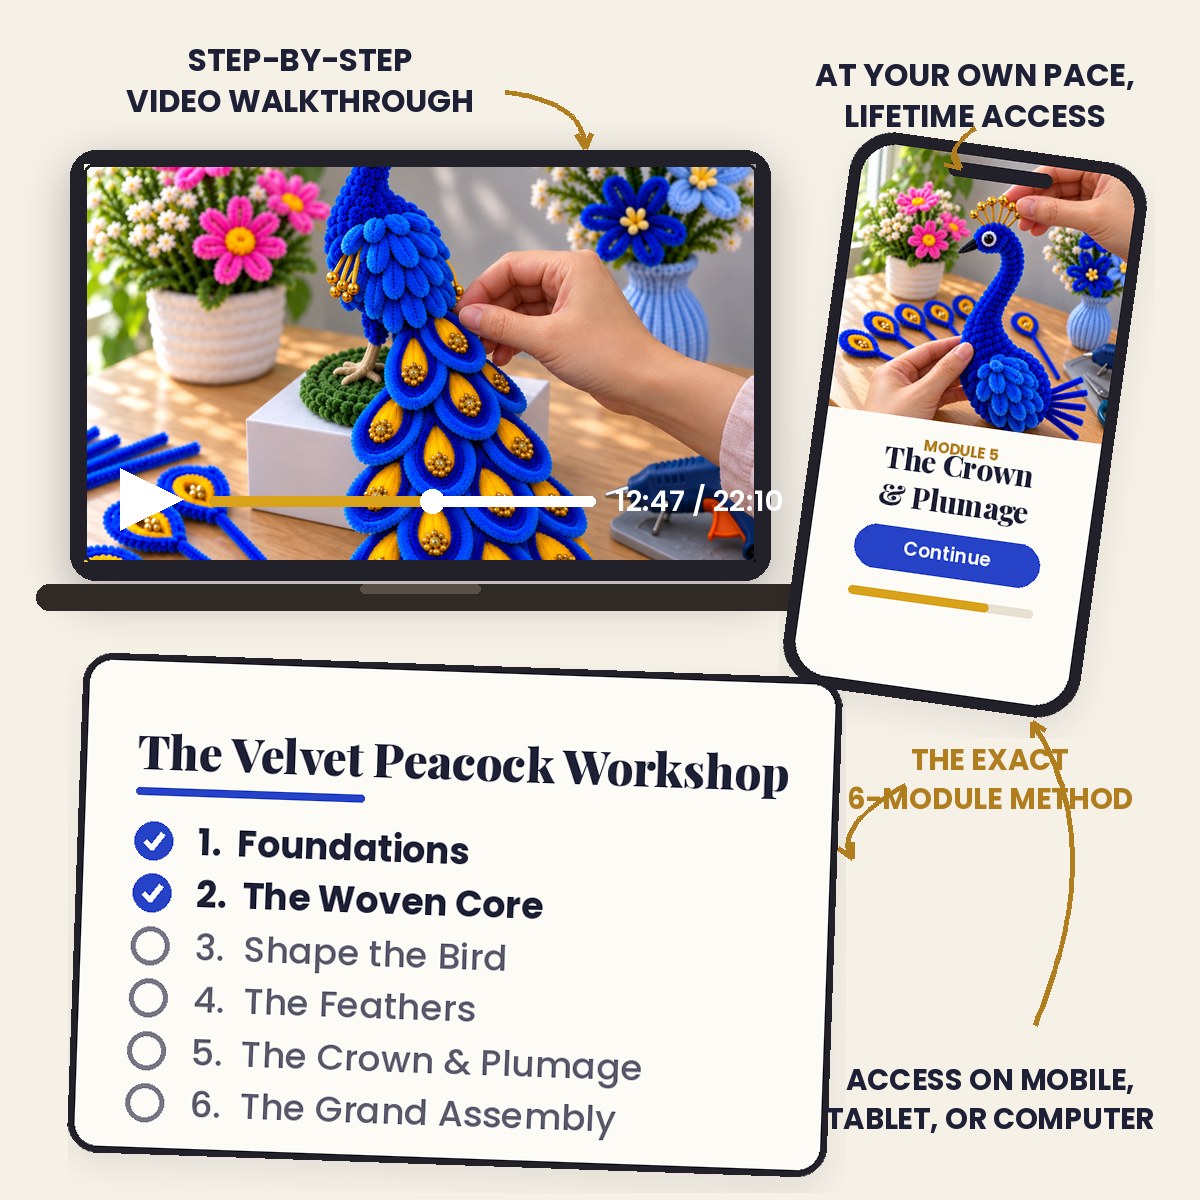
The course shown on a laptop, tablet and phone
  • 🎬 Step-by-step video walkthrough
  • πŸ“± Access on mobile, tablet, and computer
  • πŸ¦₯ At your own pace
  • ♾️ Lifetime access

Here's A Small Taste Of What's Inside:

Module 1

Foundations. Master the Five Core Twists

Hands at the craft desk practicing the warm-up pieces: the double twist, the tight coil, the spiral, the first teardrop with its golden center, and the eight-spoke wheel

Before you touch the peacock, you'll learn the handful of twists that every chenille creation on earth is built from. In one short session your hands will already know the moves, so nothing later ever feels hard.

  • The tension secret that keeps every twist tight, smooth, and fuzz-free (this alone fixes 80% of "lumpy" results)
  • How to join two stems invisibly so long pieces never show an ugly seam
  • Discover the coil, spiral, and teardrop shapes you'll reuse in every single project after this one
  • You'll build your first eight-spoke wheel, the exact piece the peacock's body grows from in Module 2
  • A simplified guide to cutting and measuring so pieces come out matching every time
Module 2

The Woven Core. Grow the Body from a Spoke Wheel

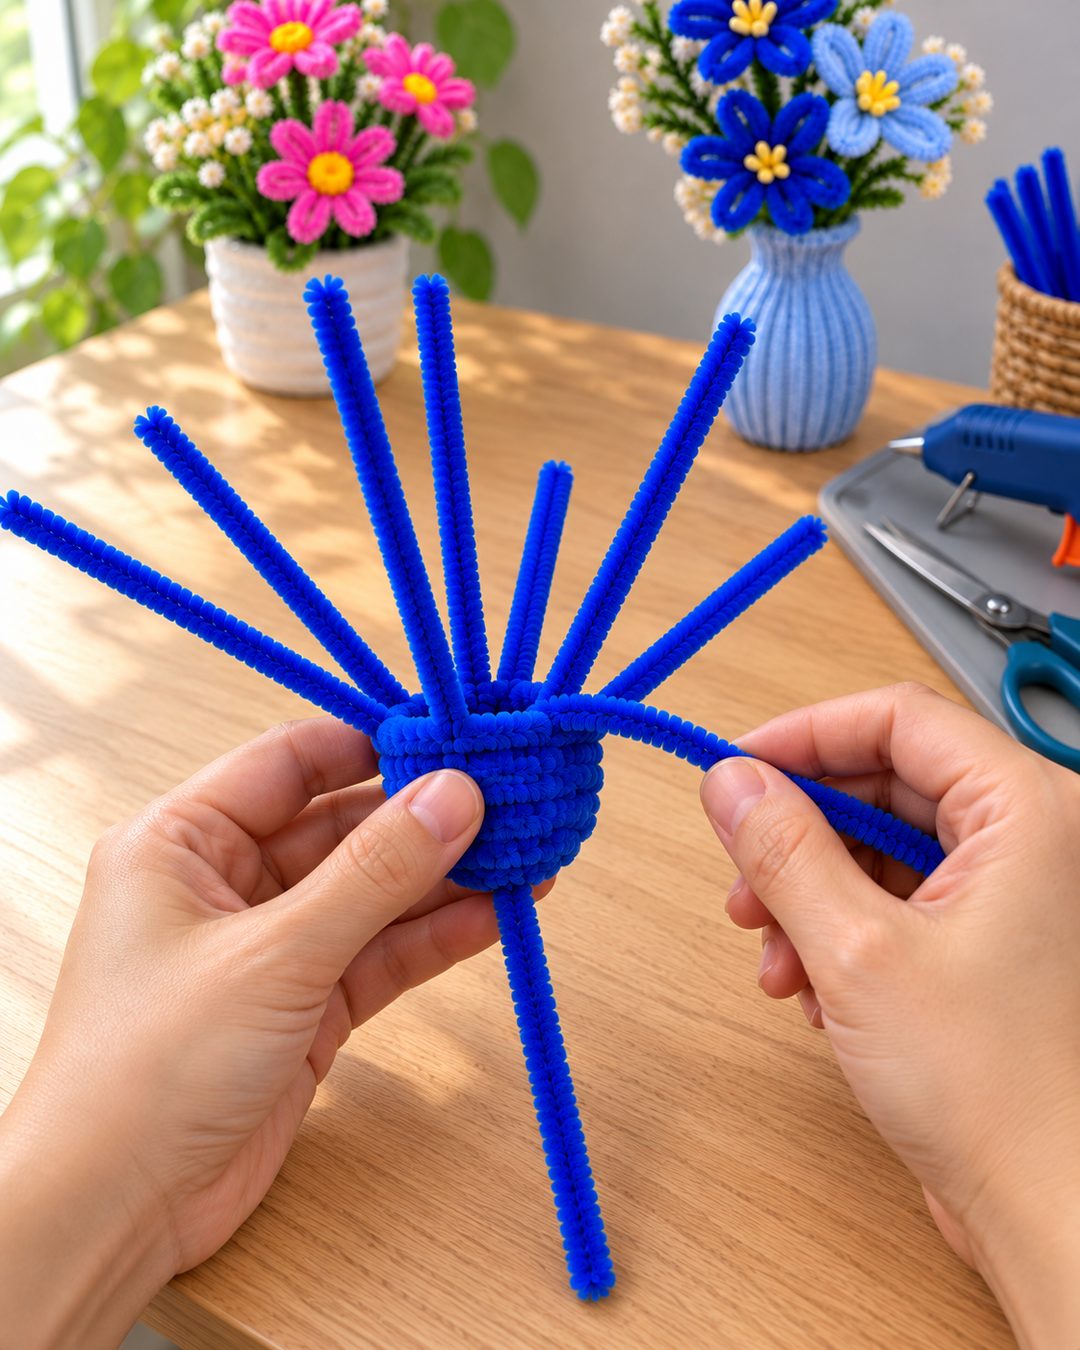
Both hands weaving a stem over and under the radiating spokes, the dense rounded body core taking shape in the palm

This is the moment from every viral timelapse, slowed down and finally explained. The peacock's whole body starts as a simple wheel of radiating stems. Then you weave around it, over, under, over, under, and a dense velvety ball forms right in your hands.

  • The over-under weaving rhythm that turns loose spokes into a solid, smooth body (this is the step every sped-up video skips past)
  • How to pull each round snug so the surface comes out velvet-smooth instead of gappy and lumpy
  • The spoke-count rule that controls the body's final size and roundness
  • You'll finish this module holding a dense woven core, the foundation the entire bird is built on
Module 3

Shape the Bird. Neck, Head, and Silhouette

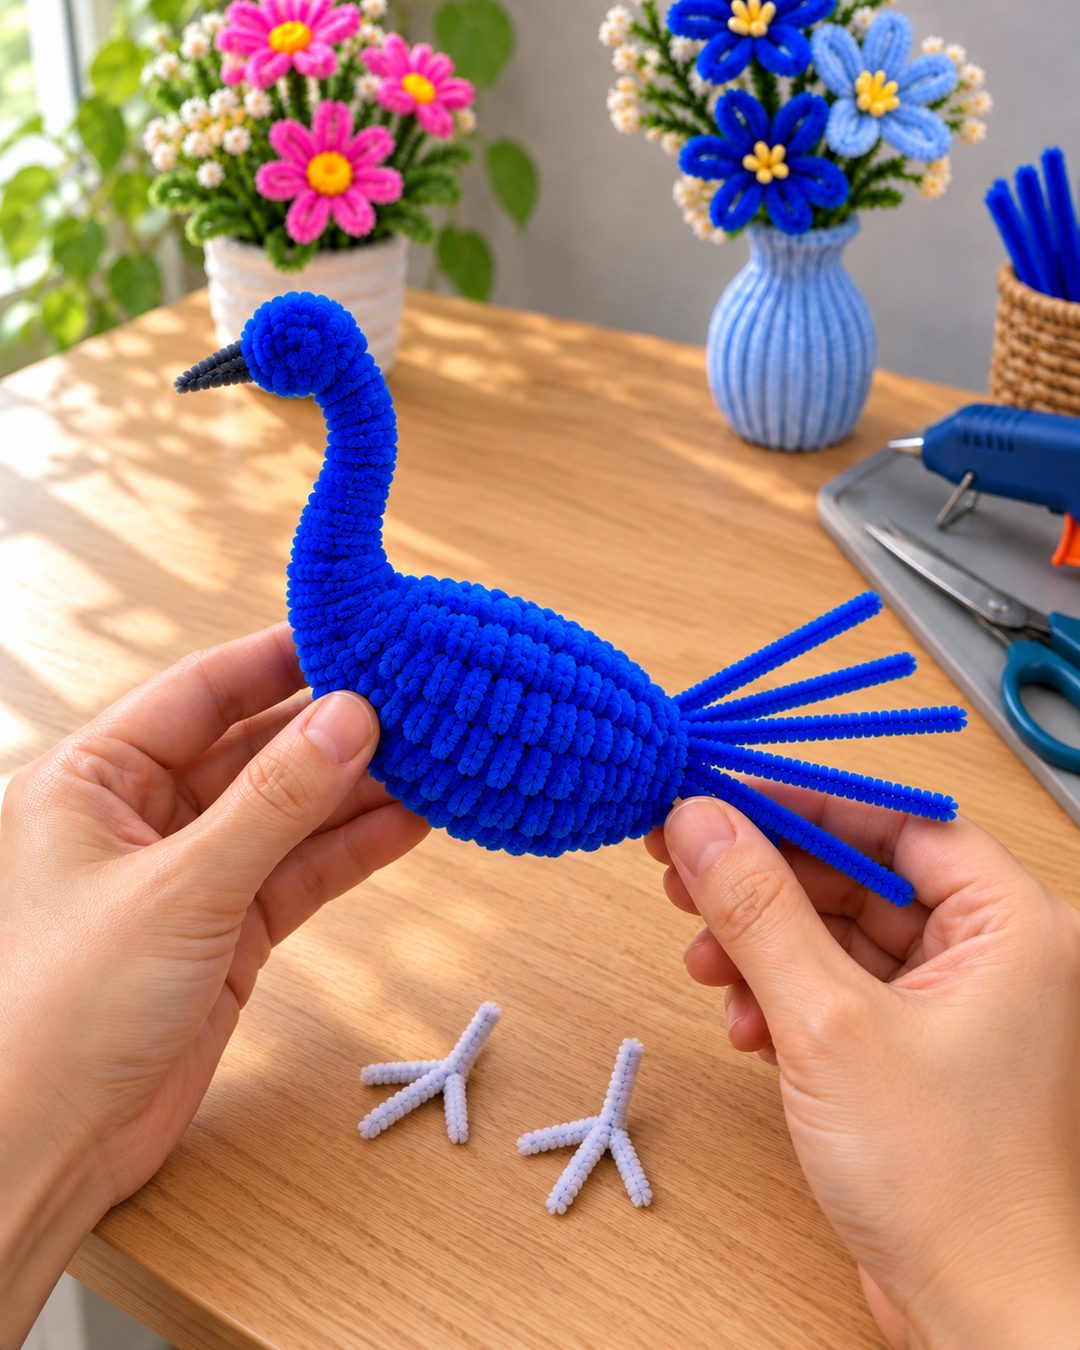
The fully shaped blue bird held in two hands: rounded woven body, elegant S-curved neck, dark beak, tail spines fanned out, with the little pale feet waiting on the desk

Now the ball becomes a bird. You'll grow the elegant S-curved neck straight out of the woven core, shape the head and beak, set the tail spines, and give it feet to stand on.

  • How to extend and taper the neck from the body so the transition looks seamless and natural
  • Shape the signature swan-neck curve so it reads graceful, not bent
  • The tiny beak fold that takes under a minute and instantly makes it a peacock
  • Discover the tail spine fan that will carry the entire cascading tail later
  • You'll twist the little standing feet that let your bird perch proudly on its base
Module 4

The Feathers. Craft the Signature Golden Eye Feathers

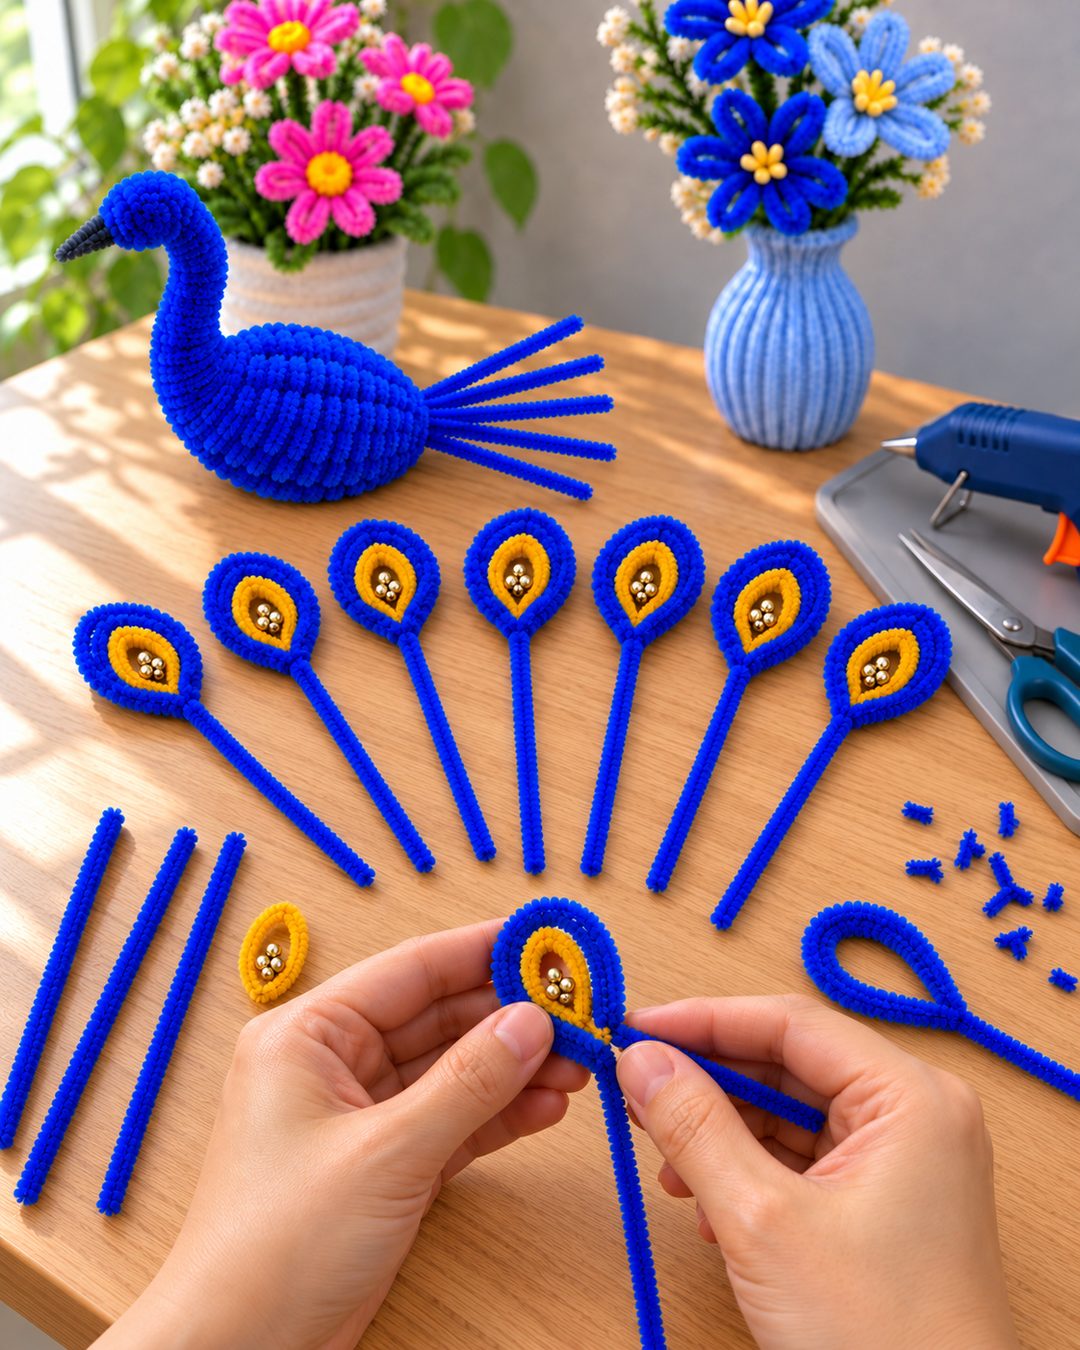
A fan of finished eye feathers laid out on the desk, royal blue teardrops with golden centers and bead clusters, hands shaping the next one, the bare bird waiting in the background

This is the part everyone falls in love with. You'll batch-build the iconic teardrop "eye" feathers: deep blue rings around golden centers, each one finished with a cluster of gold beads, each one identical.

  • The teardrop template method so all 20+ feathers come out the same size and shape
  • How to layer the blue and gold stems and set the beaded centers for that jewel-like depth
  • A simplified assembly-line rhythm that turns feather-making into the most relaxing hour of your week
  • Learn the sizing progression (small at top, large at bottom) that makes the tail read as real plumage
  • You'll finish with a full fan of feathers laid out and ready to attach
Module 5

The Crown & Plumage. Bring the Peacock to Life

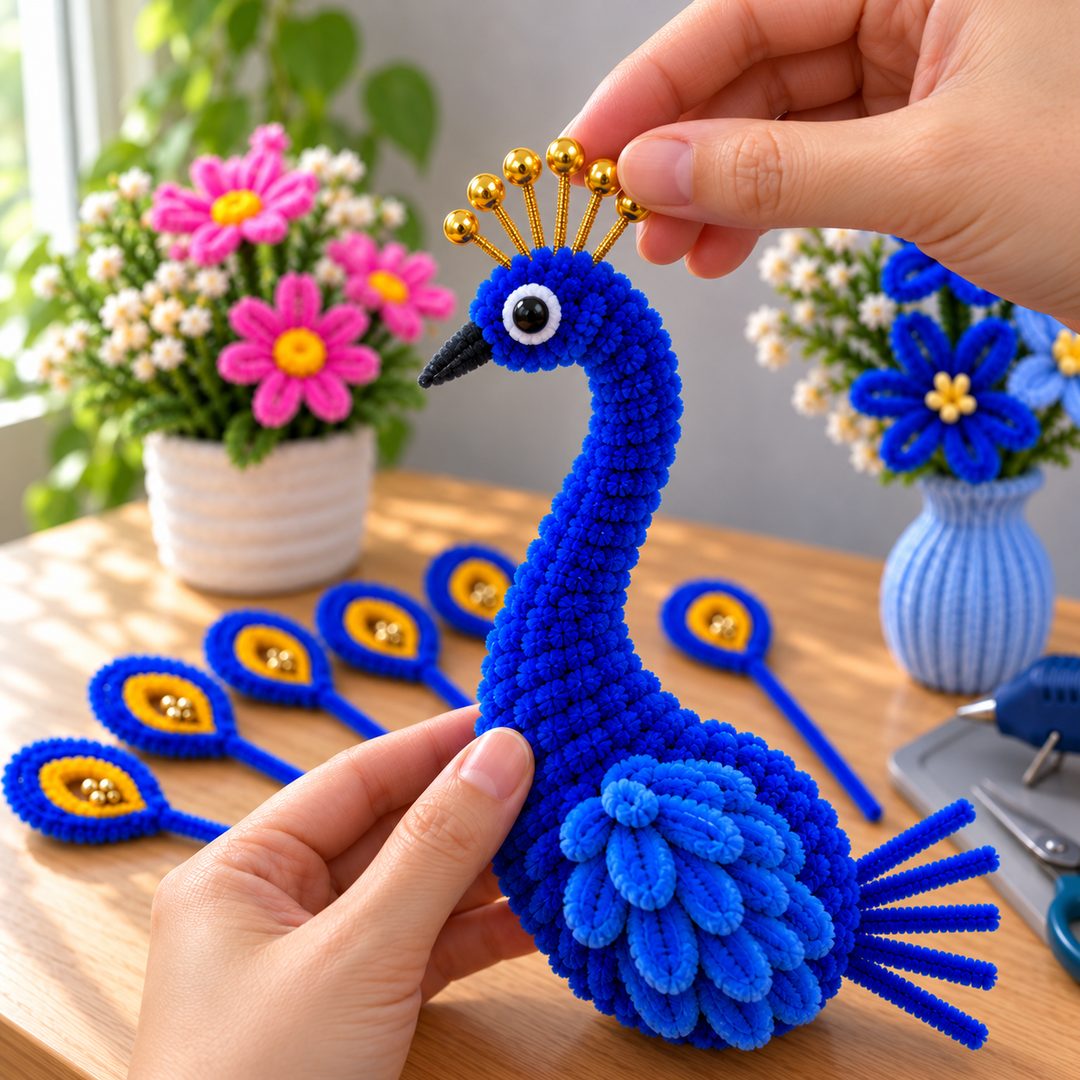
Close-up of hands placing the golden ball-tipped crown pins into the head, the eye already set, the layered shoulder plumes covering the back, finished feathers waiting around it

Details are what make people gasp. You'll set the eyes, place the delicate golden crown, and layer the soft shoulder plumes that turn a smooth blue body into a richly feathered bird.

  • How to place the ball-tipped crown pins so they stand upright in a perfect fan
  • The eye placement rule that instantly makes the bird look alive instead of toy-like
  • Discover the overlapping shoulder plumes that give the back and wings their lush, layered texture
  • You'll learn where to add (and where to STOP adding) golden details so it reads elegant, not craft-fair
Module 6

The Grand Assembly. Cascade the Tail and Mount the Bird

Hands attaching the cascading tail row by row, the peacock standing on its woven green base atop a white pedestal, golden-eyed feathers flowing down in overlapping layers

The moment it all comes together. You'll attach every feather in overlapping rows, set the cascade so it flows like water, mount the bird on its base, and lock the whole piece so it holds its pose forever.

  • The row-by-row layering map that creates that waterfall effect (this is the step every free tutorial skips)
  • How to anchor feathers invisibly so the tail moves as one piece
  • You'll weave the green nest base and mount your peacock so it stands rock-solid
  • The final fluff and groom pass that takes it from "nice craft" to "is that from a boutique?"
  • Learn the display trick (elevate the base, let the tail spill) that makes it photograph beautifully

Why you'll be paying less for this course

Honestly? The full price of this course is $97. And based on what students create by Module 6, it's worth that.

But right now, this is a beta launch. I'm keeping the group small on purpose, because I want to personally make sure the instructions are crystal clear and every student ends up with a peacock they're proud of.

If it works the way I believe it will, the price goes up to $97 and stays there. If it somehow doesn't, this page quietly comes down.

Either way, this price won't last.

So for now, you get everything for just $27.

Originally: $97
Now Only
$27
Yes! I want access to The Velvet Peacock Workshop
Unlock Access Now
Secure Checkout Β· Privacy Protected

Plus You'll Be Backed By My Unconditional Money Back Guarantee

30-day money-back guarantee, no questions asked

You don't have to decide right now.

Get access, open Module 1, and try it for 30 full days. Twist the practice coils. Weave the body core. Make your first golden-eyed feather.

If at any point you feel it's not for you, send one email to kyme@thehandmadeacademy.com and you'll get every penny back within 24 hours. No questions asked. No stalling. No "exit survey."

"You either love what you create... or you don't pay for it."

And to help you go even further...

I don't just want you to buy this course. I want you to actually sit down, start twisting, and finish a peacock you can't stop looking at. So I've included a few extra resources that remove every excuse between you and that moment.

Get 3 FREE Bonuses If You Join Now

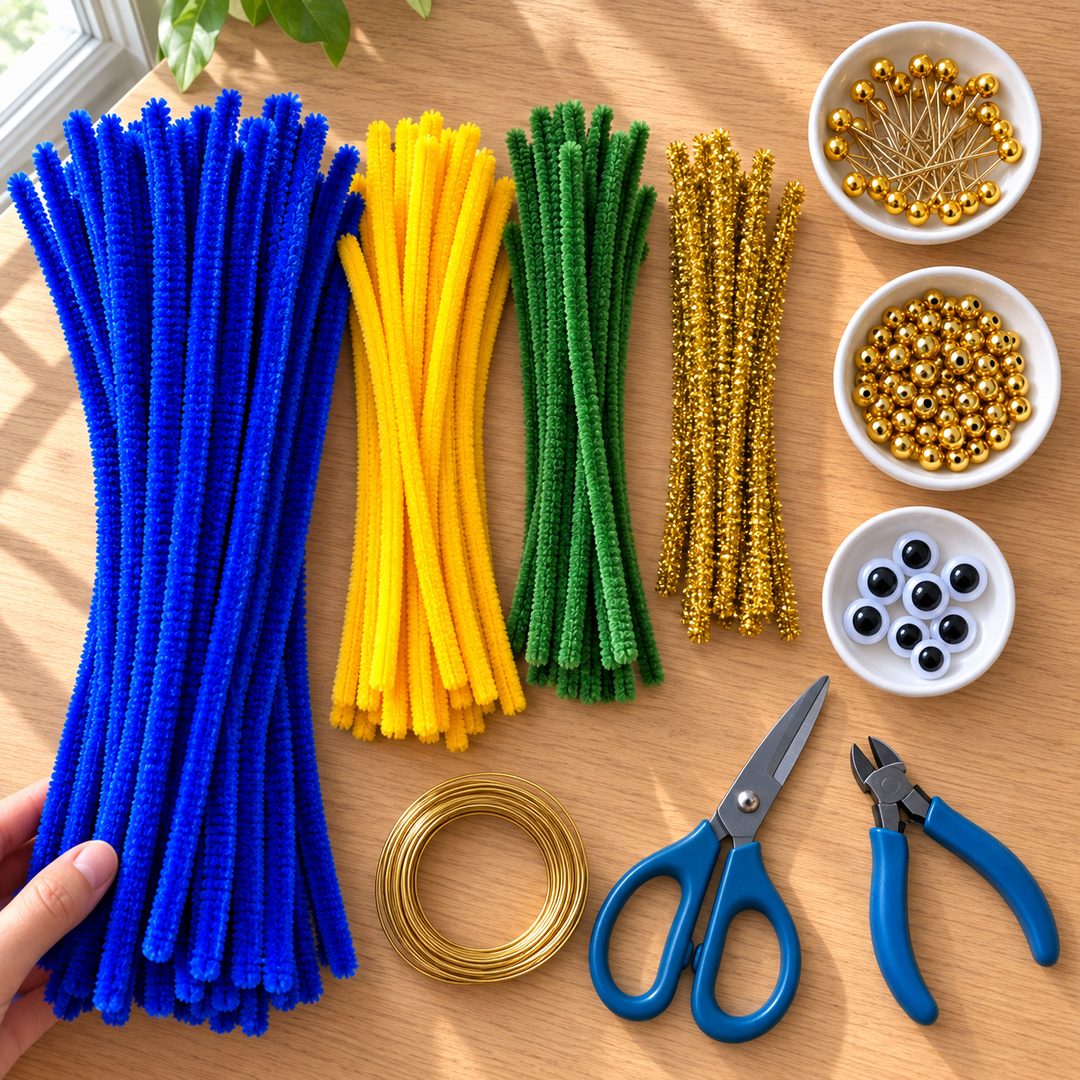
A flat-lay of the exact supplies: chenille stem bundles in royal blue, yellow, green, and gold tinsel, bowls of gold beads, ball-head pins, and eyes, craft wire, scissors, and a wire cutter
🎁 Bonus #1

The Chenille Shopping Cheat Guide

Standing in a craft aisle (or scrolling a marketplace) with no idea which stems to buy is where most people quit before they start. This guide hands you the exact list: brands, thicknesses, colors, and where to get them cheaply.

  • The exact stem thickness and length for the body vs. the feathers (they're different, and it matters)
  • Discover which gold beads, ball-head pins, and eyes to grab for the crown, feather centers, and face
  • A complete one-cart shopping list you can order in five minutes for under $15
  • The two "premium" supplies that are a waste of money (skip them)

Value: $17 β†’ Your price: FREE

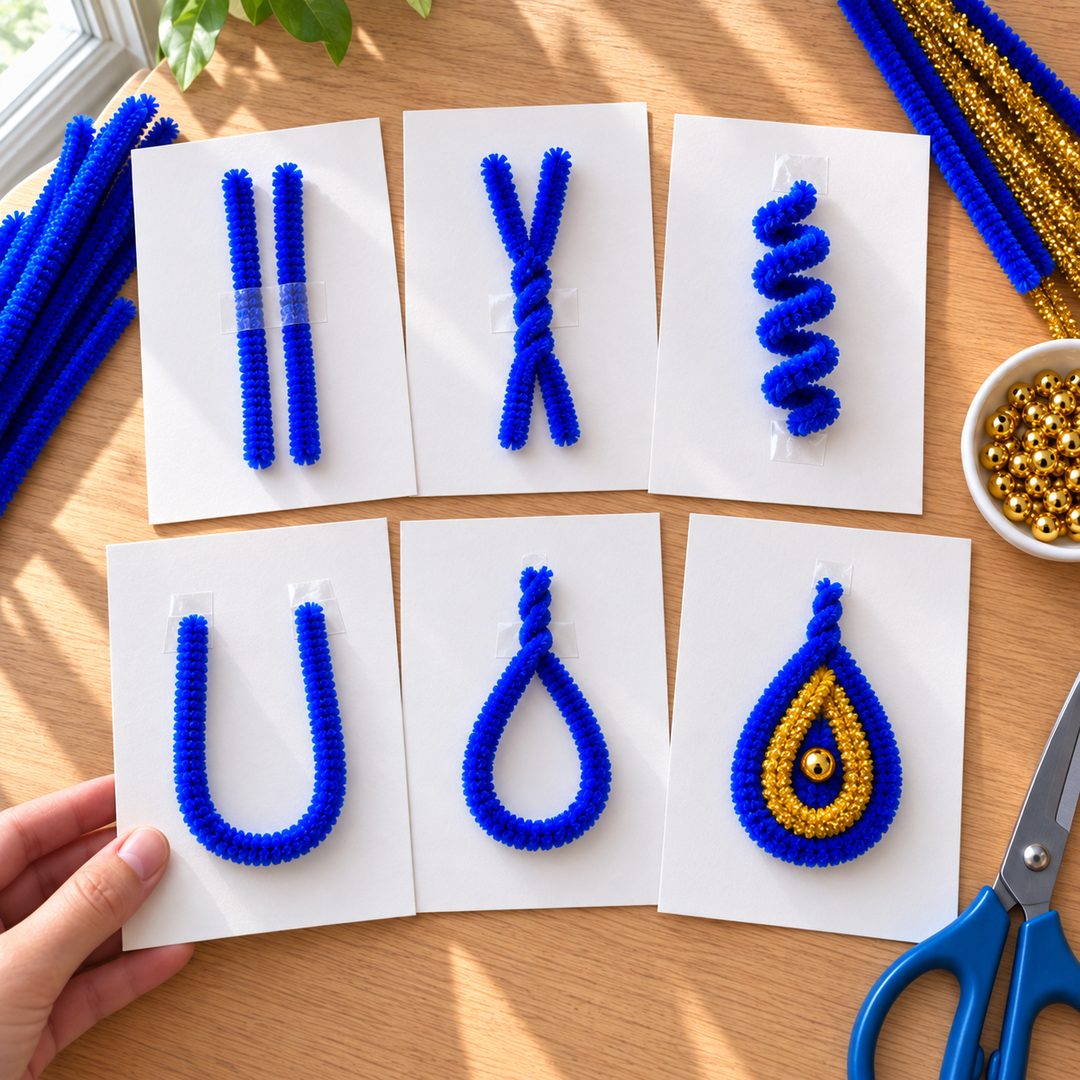
Printable white cards laid on the desk, each holding a real taped chenille sample: parallel stems, the twist, the spiral, the U-bend, the loop, and the finished golden-centered teardrop
🎁 Bonus #2

The Twist Technique Reference Cards

You'll come back to these again and again. Every core technique from the course, condensed onto printable cards you can prop up next to your work: one glance, and your hands remember.

  • All five core twists shown as real step-by-step samples
  • The feather teardrop progression from bare stem to golden-centered eye
  • Quick-fix cards for the three most common mistakes (loose weaves, crooked necks, drooping tails)

Value: $14 β†’ Your price: FREE

The finished peacock on its pedestal by the window, a hand holding a phone mid-photo with the peacock framed on screen
🎁 Bonus #3

Show It Off: Photograph & Display Your Peacock

You spent hours making something gorgeous. Don't let a dark, blurry photo undersell it. This mini-guide shows you how to display it at home and capture photos that make people ask "who made THAT?"

  • The window-light setup that makes chenille glow (using zero equipment)
  • How to stage the cascade off a pedestal, shelf, or box for maximum drama
  • You'll get simple phone-camera settings that keep the gold beads sparkling instead of blown out
  • Gift-wrapping ideas that protect the tail in transit

Value: $13 β†’ Your price: FREE

Here's Everything You're Getting:

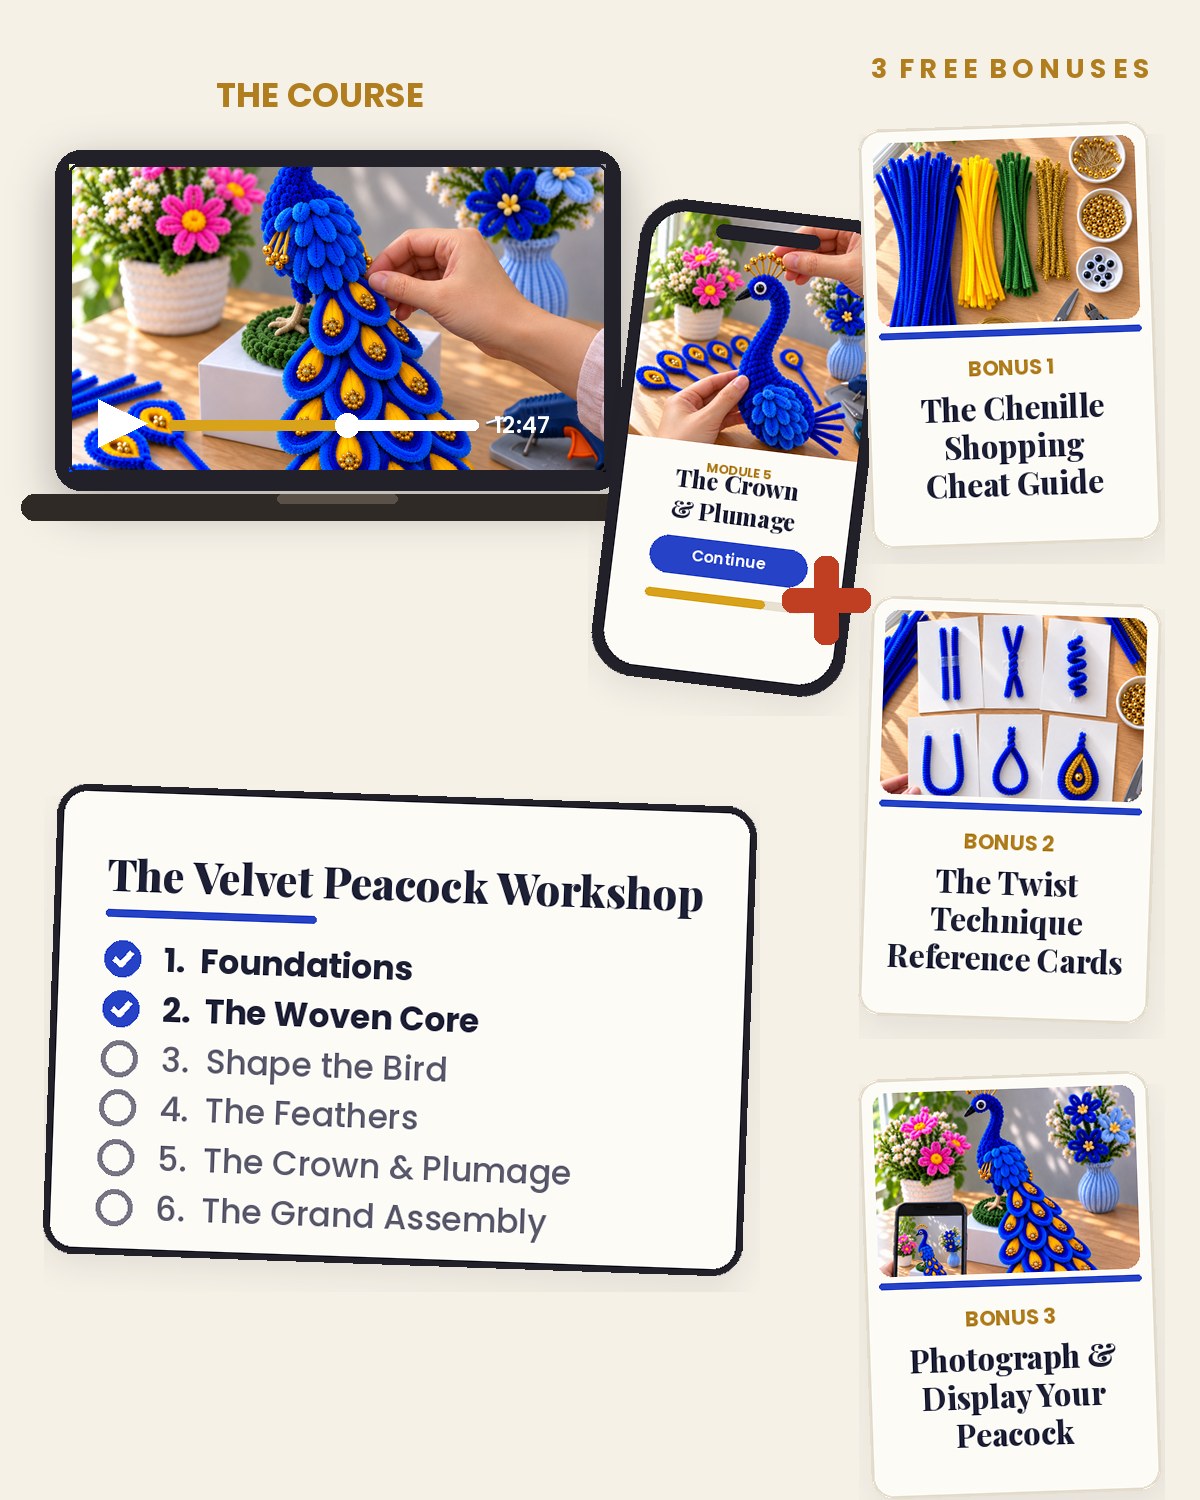
The course modules and all three bonus covers displayed together
βœ“The Velvet Peacock Workshop(value: $97)
>> Module 1: Foundations. Master the Five Core Twists
>> Module 2: The Woven Core. Grow the Body from a Spoke Wheel
>> Module 3: Shape the Bird. Neck, Head, and Silhouette
>> Module 4: The Feathers. Craft the Signature Golden Eye Feathers
>> Module 5: The Crown & Plumage. Bring the Peacock to Life
>> Module 6: The Grand Assembly. Cascade the Tail and Mount the Bird
Plus These Bonuses:
βœ“Bonus #1: The Chenille Shopping Cheat Guide(value: $17)
βœ“Bonus #2: The Twist Technique Reference Cards(value: $14)
βœ“Bonus #3: Show It Off: Photograph & Display Your Peacock(value: $13)
Total Value: $141
Total Value: $141
Now Only
$27
Yes! I want access to The Velvet Peacock Workshop
Unlock Access Now
Secure Checkout Β· Privacy Protected

Got more questions? I got you:

Need help? kyme@thehandmadeacademy.com

Do I need any prior craft experience?
None at all. Module 1 assumes you've never twisted a pipe cleaner in your life. If your hands work, this works.
How much time does it take?
Most students finish their peacock over 3 to 5 relaxed evenings, about an hour at a time. You could also binge it in a weekend. It's your pace, forever.
Where does the course take place?
It's 100% online. Right after checkout you get access to a private members area where all the video lessons and bonuses live. Nothing is live and nothing is shipped: you watch on your phone, tablet, or computer, whenever you want, and follow along at your own table.
What materials do I need?
Chenille stems in royal blue, yellow, and green (plus a few gold tinsel stems), small gold beads and ball-head pins for the crown and feather centers, a pair of craft eyes, and scissors. A small wire cutter helps but isn't required. Bonus #1 gives you the exact shopping list, and the whole kit costs under $15.
How long do I have access?
Forever. One payment, lifetime access, including any future updates to the course.
Is there a refund policy?
Yes. 30 days, unconditional. One email and you get everything back, no questions asked.
Is this a one-time payment?
Yes. $27 once. No subscription, no upsell required to finish your peacock.
Will my peacock actually hold its shape, or will it flop over in a week?
It will hold. The densely woven body core from Module 2 and the mounted base from Module 6 are exactly what keep the neck curved and the tail cascading for years. That's what free timelapses never explain, and it's why theirs flop and yours won't.

If you've read this far, you already know you want to make this bird. Let's go.

Here's Everything You're Getting Now For Just $27:

The full course and all three bonuses displayed together
βœ“The Velvet Peacock Workshop(value: $97)
>> Module 1: Foundations. Master the Five Core Twists
>> Module 2: The Woven Core. Grow the Body from a Spoke Wheel
>> Module 3: Shape the Bird. Neck, Head, and Silhouette
>> Module 4: The Feathers. Craft the Signature Golden Eye Feathers
>> Module 5: The Crown & Plumage. Bring the Peacock to Life
>> Module 6: The Grand Assembly. Cascade the Tail and Mount the Bird
βœ“Bonus #1: The Chenille Shopping Cheat Guide(value: $17)
βœ“Bonus #2: The Twist Technique Reference Cards(value: $14)
βœ“Bonus #3: Show It Off: Photograph & Display Your Peacock(value: $13)
Total Value: $141
Total Value: $141
Now Only
$27
Yes! I want access to The Velvet Peacock Workshop
Unlock Access Now
Secure Checkout Β· Privacy Protected